26.09.30 02:31
📷 Scheduled Camera Backup to PC
Level: Beginner • Time: ~15 minutes setup • Flavor: Standard, Photos, Legacy, VR, noLegal (needs network sources - Lite has none)
Automatically copy new photos from your phone’s camera to your home computer every night, over Wi-Fi. Set it up once - it runs forever without any manual action.
What this gives you: every morning you wake up and your last night’s photos are already on your PC. No cables. No cloud subscriptions. No forgetting. Fully automatic.
What You Will Need
- Phone and PC connected to the same home Wi-Fi (same router)
- A folder on your PC where photos will be saved (e.g.
C:\PhoneBackup) - FastMediaSorter installed in a flavor with network sources (Standard, Photos, Legacy, VR, noLegal)
Not sure which flavor you have? Open Settings
→ System information. The Edition row names the flavor (Standard / Lite / etc.).
Step 1 - Create a Backup Folder on Your PC
First, make a folder on your PC. Then share it so the phone can reach it.
On Windows:
- Create a new folder anywhere - for example
C:\PhoneBackup - Right-click the folder → Properties → Sharing tab → click Share..
- In the dropdown, select your username or type Everyone → click Add → click Share
- Windows shows the network path - write it down. It looks like:
\\MYPC\PhoneBackup
Also note your PC’s IP address - you’ll need it in Step 2. The fastest way: press Win + R, type
cmd, press Enter. In the black window typeipconfigand press Enter. Find the line IPv4 Address under your Wi-Fi adapter. Example:192.168.1.100. Write that number down.
Step 2 - Connect the App to Your PC Folder
Now tell FastMediaSorter where to send the photos.
What is SMB? It’s simply how Windows shares folders over home Wi-Fi. You don’t need to understand the details - just follow the steps.
- Open the app → tap Add
 in the top toolbar → select “Network folder (SMB)”
 - In the Server / Path field enter:
\\192.168.1.100\PhoneBackup- Replace
192.168.1.100with your actual PC IP from Step 1 - Replace
PhoneBackupwith your actual folder name
- Replace
- Enter your Windows username and password (same ones you use to log into your PC)
- Tap Test Connection - wait a few seconds - you should see a green success message
- Tap Save
Can’t connect? Check the SMB Setup Guide - it covers every common connection problem with step-by-step solutions.
Step 3 - Open Scheduled Operations Settings
- Tap Settings (the gear icon in the toolbar)
- Go to the Management tab
- Scroll to “Scheduled operations by schedule” and turn on “Use scheduled operations”
- Tap “Manage scheduled operations” - the scheduled operations screen opens
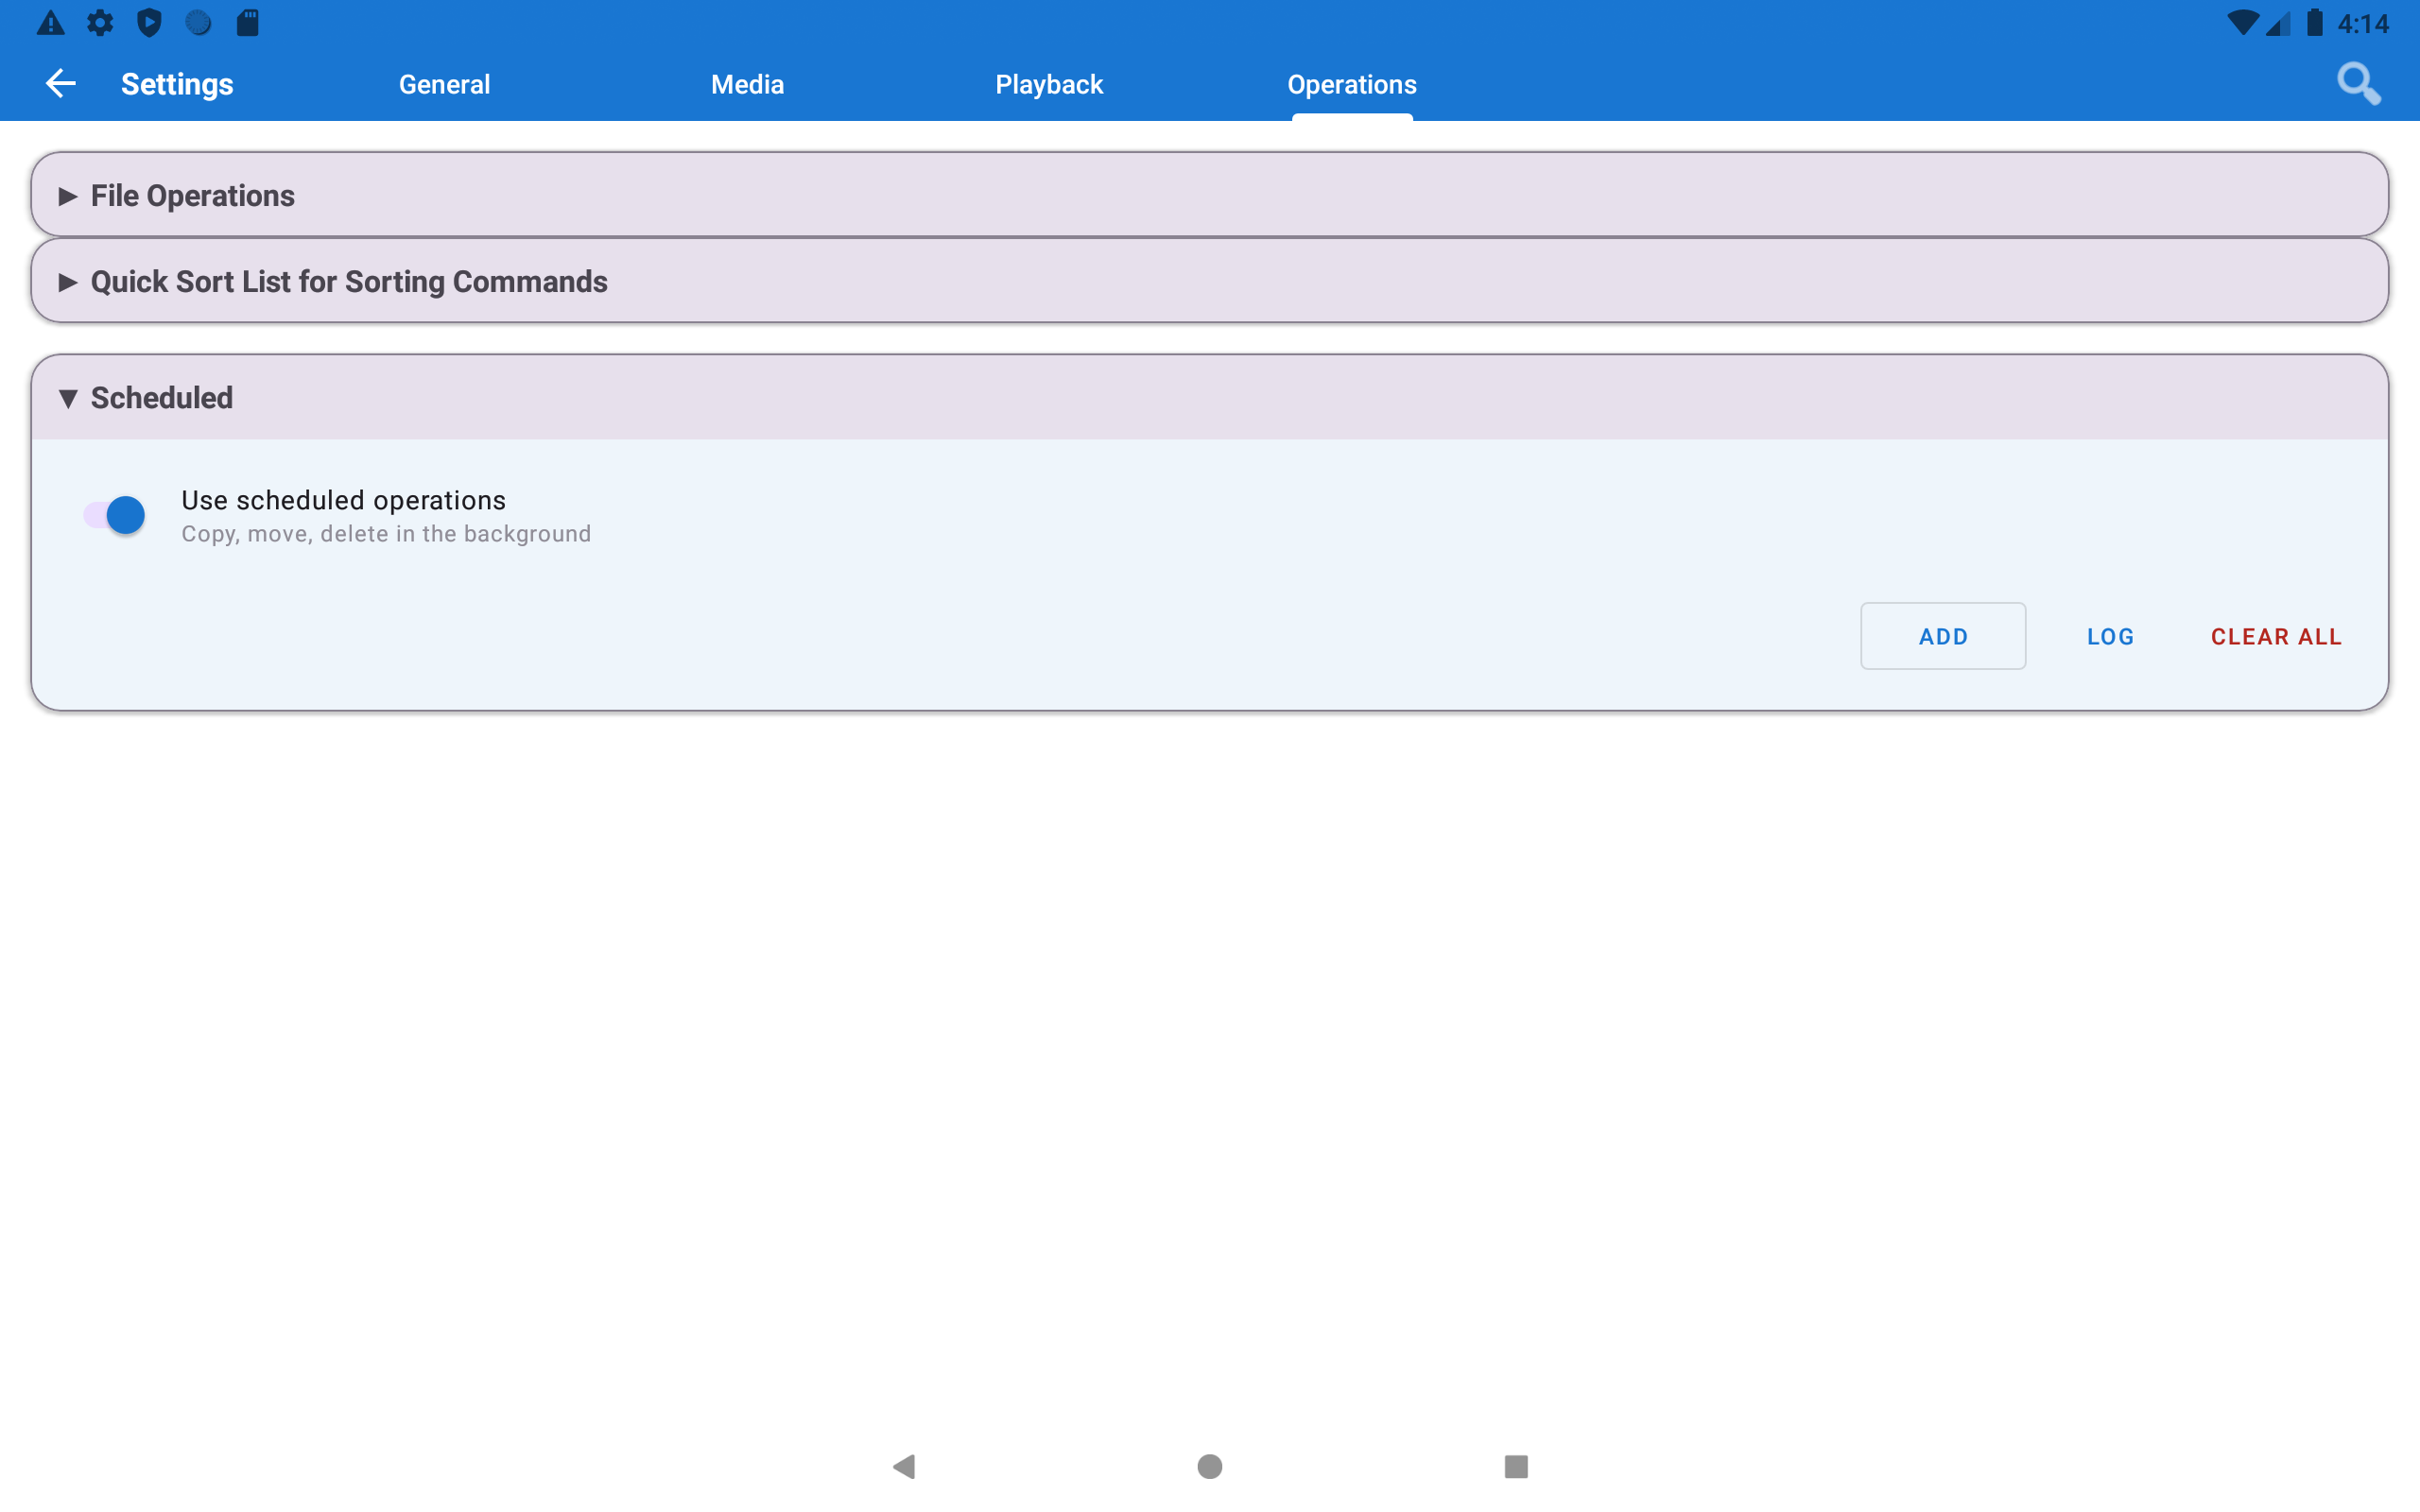
Step 4 - Create a New Schedule
Tap the + button (“Add”) on the scheduled operations screen.
A new schedule dialog opens.
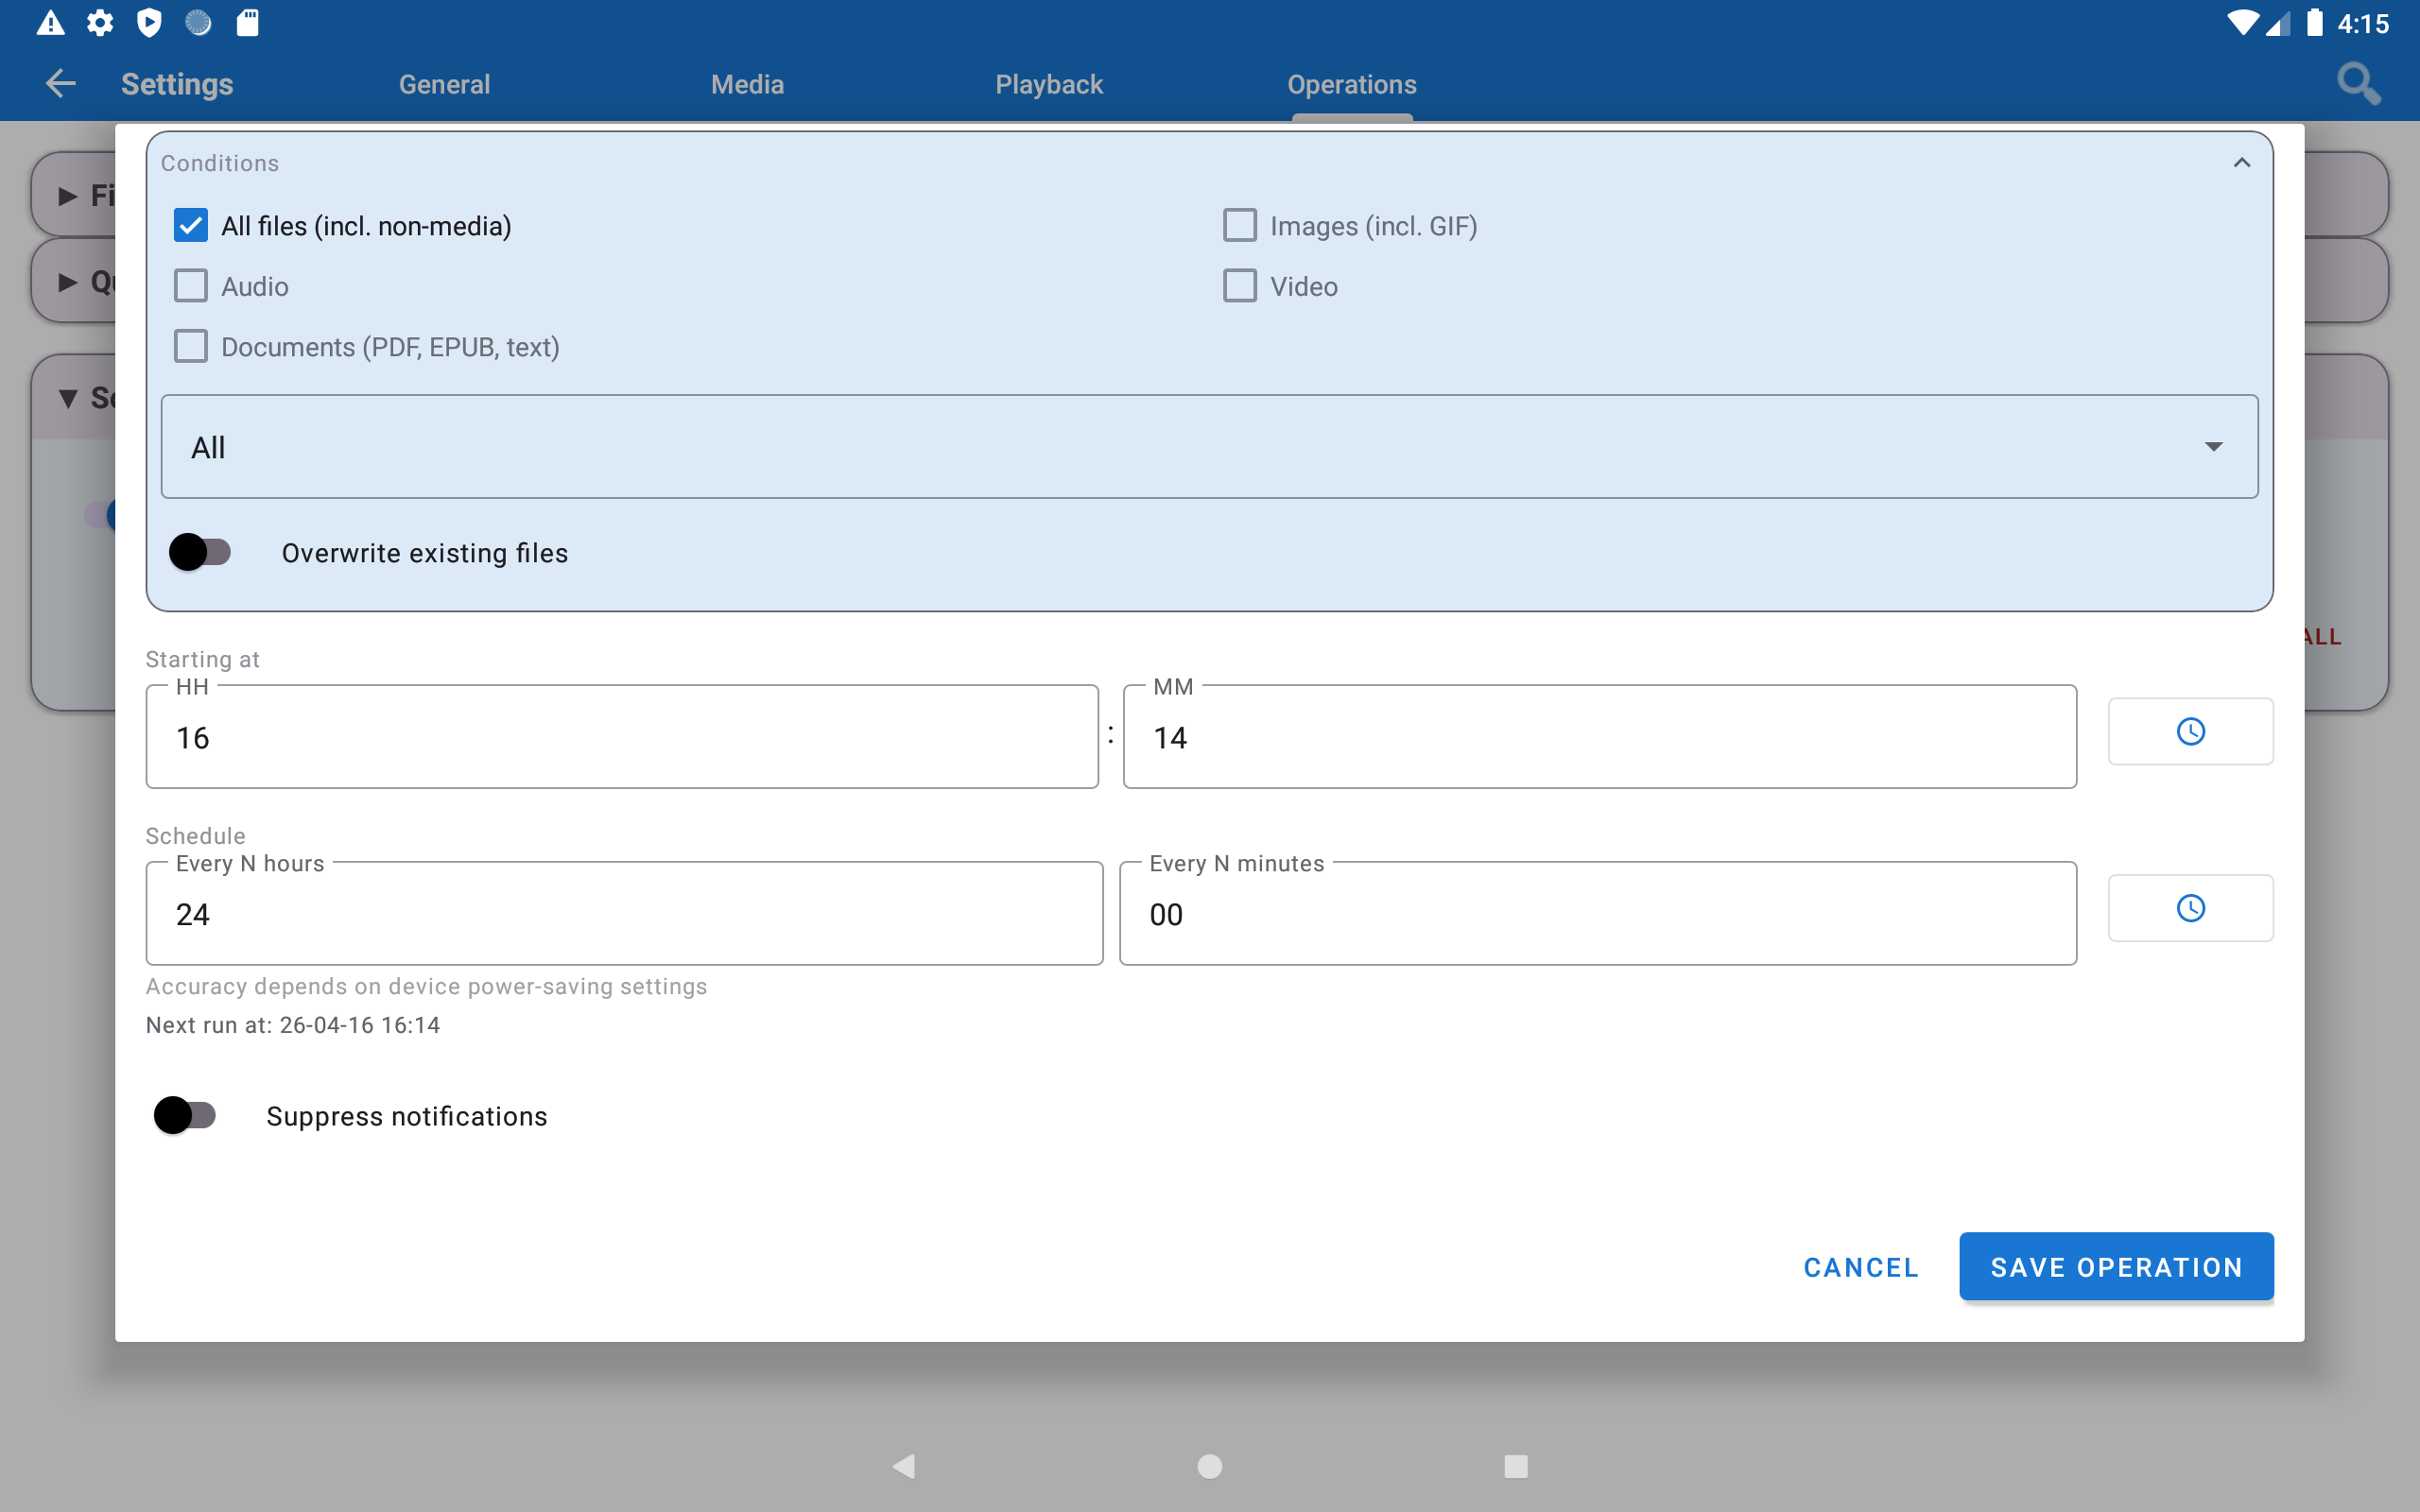
Step 5 - Fill In the Backup Schedule
Fill in each field:
| Field | What to set | Example |
|---|---|---|
| Name | Any label to recognize this schedule | Nightly Camera Backup |
| Source | Where your camera photos are | Select “Camera Photos” - it finds all camera shots automatically |
| Destination | Your PC backup folder | Select the SMB resource you just added (PhoneBackup (SMB)) |
| Operation | What to do with files | “Copy (skip existing)” - copies new photos only, never duplicates |
| Schedule | When to run | Daily at 02:00 - runs while you sleep |
| Run on Wi-Fi only | Turn this ON | Prevents the backup from using your mobile data by accident |
What is “Camera Photos”? It’s a special virtual folder that FastMediaSorter creates automatically. It always shows all photos taken by your camera - even if they’re stored in different folders on your phone. Always prefer this over picking a manual path.
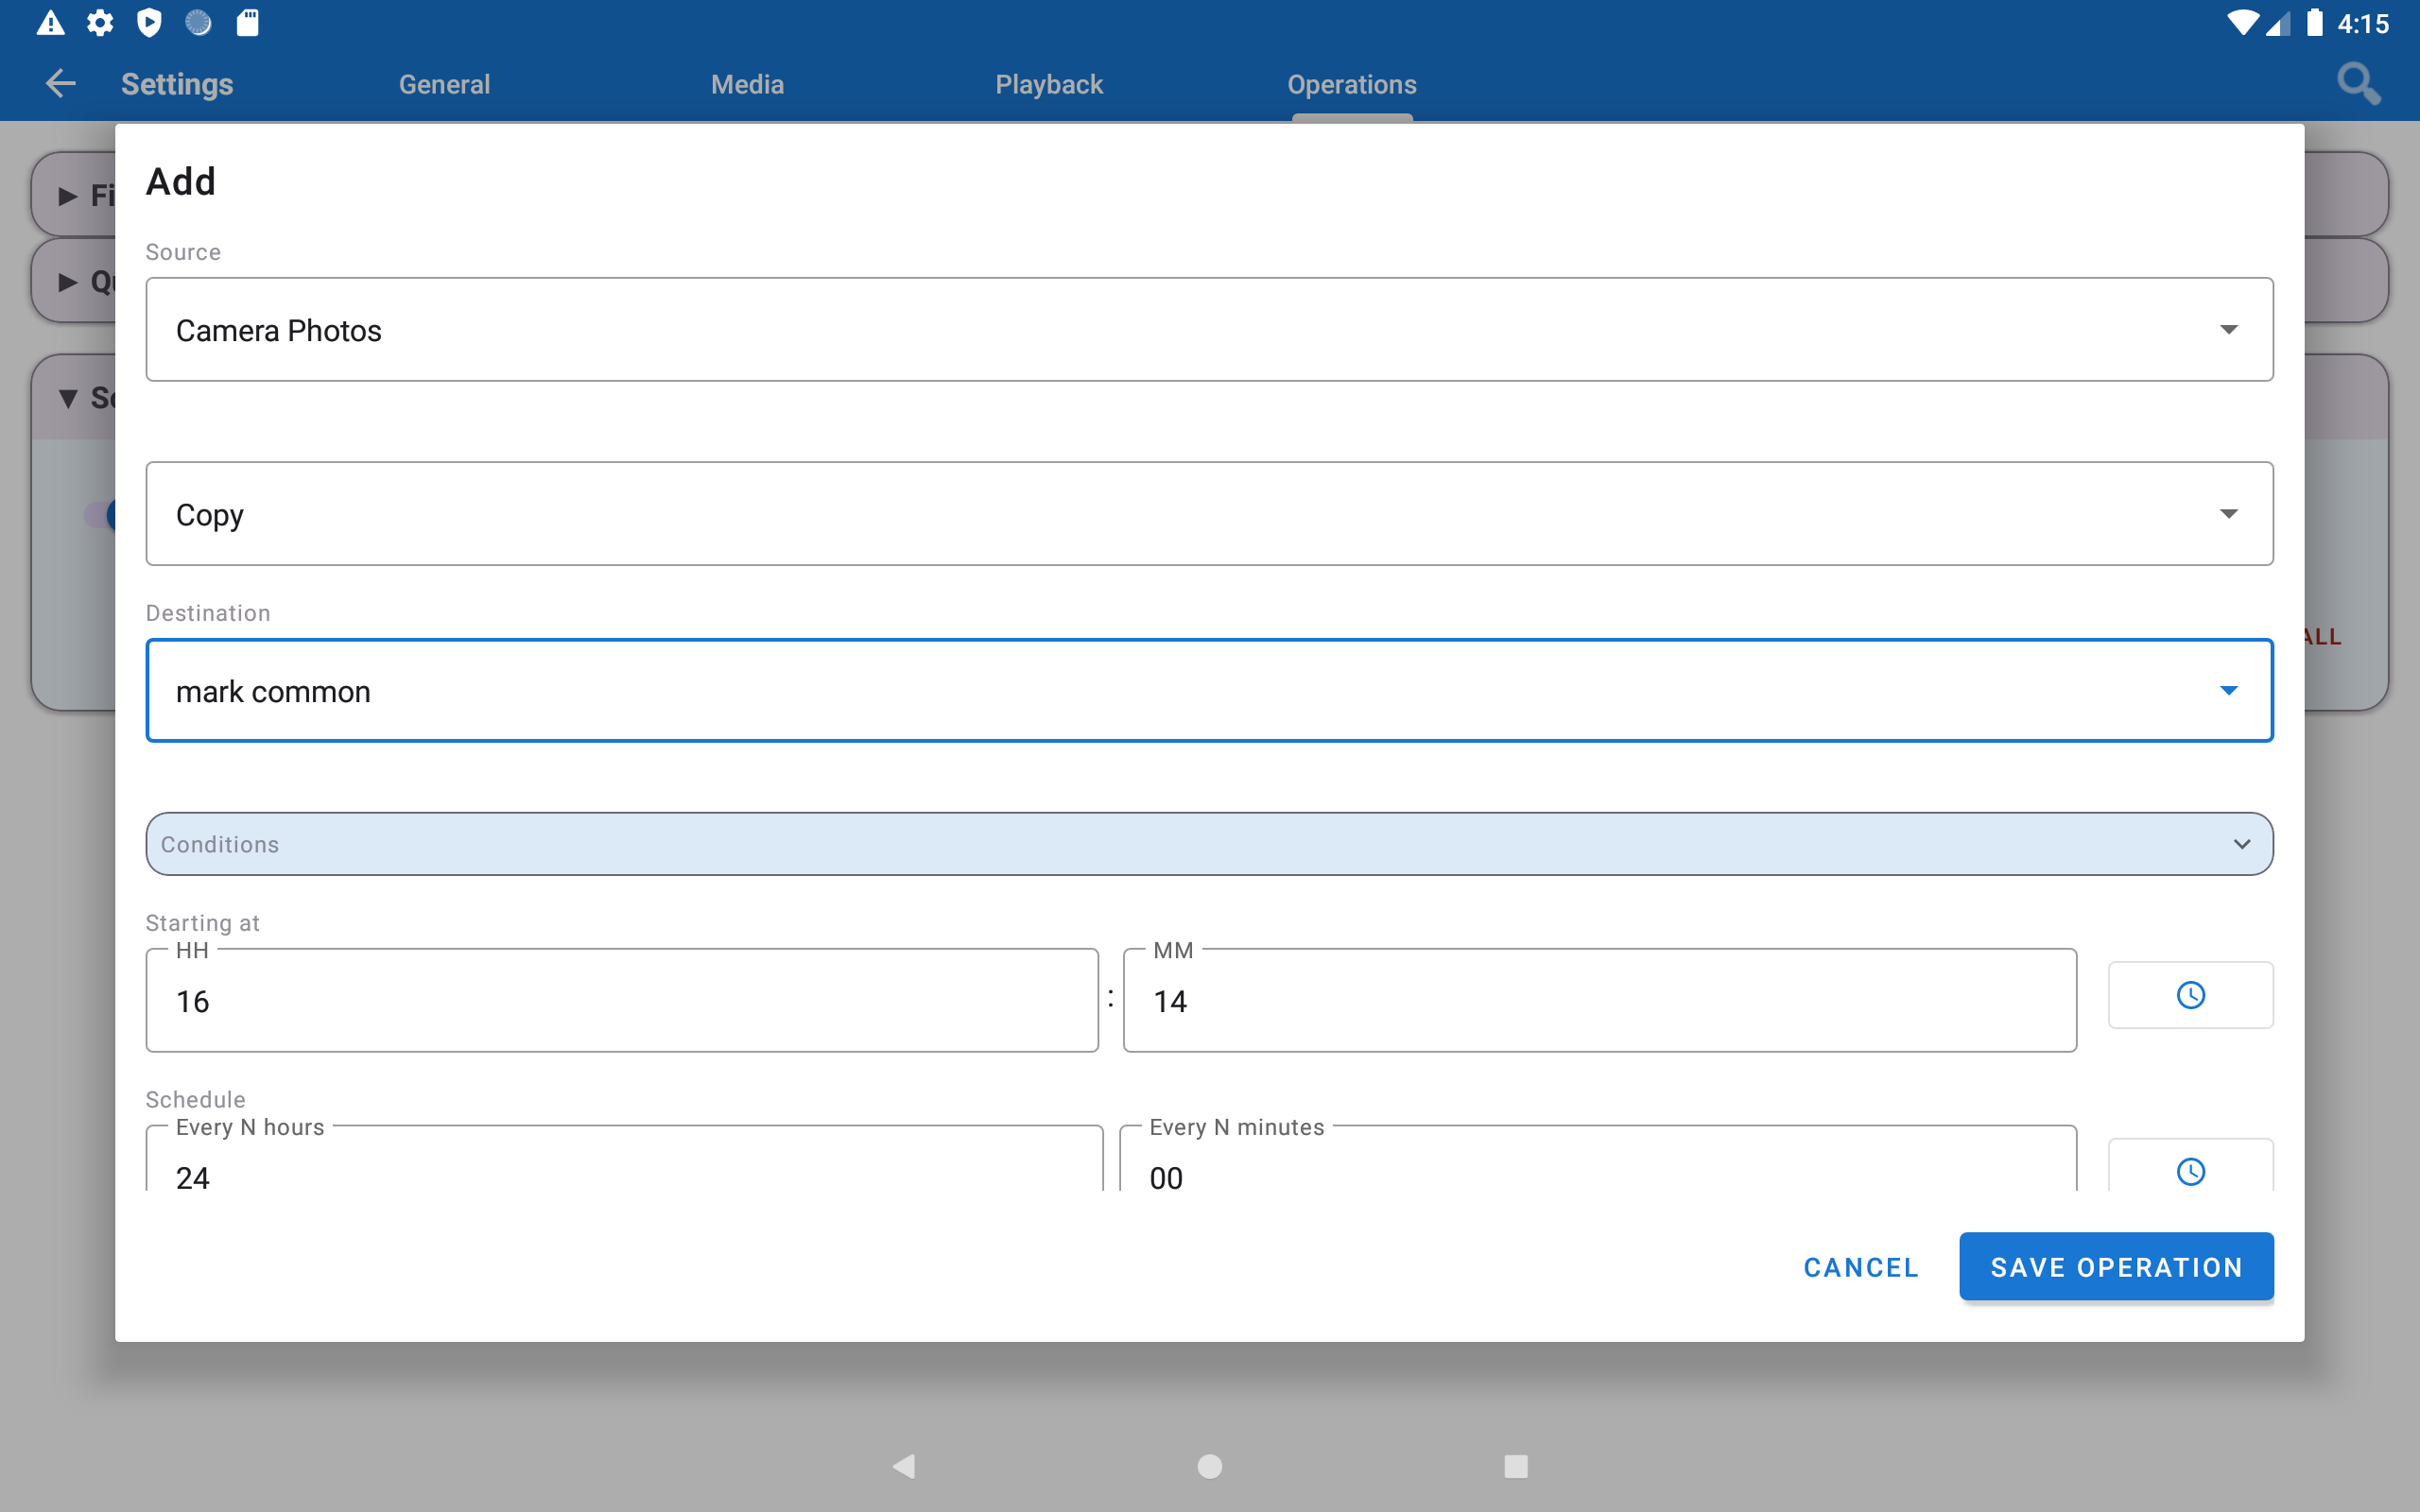
Step 6 - Save and Allow Background Access
Tap Save.
The schedule appears in the list - it is now active.
You may see a permission dialog. The app asks to be excluded from battery saving. Tap “Disable Optimization” (or “Allow”).
Why is this step important? Android tries to save battery by automatically stopping apps that run in the background. Without this permission, Android might stop the backup mid-night. Granting this just lets the app wake up at the scheduled time - it doesn’t drain your battery in any noticeable way.
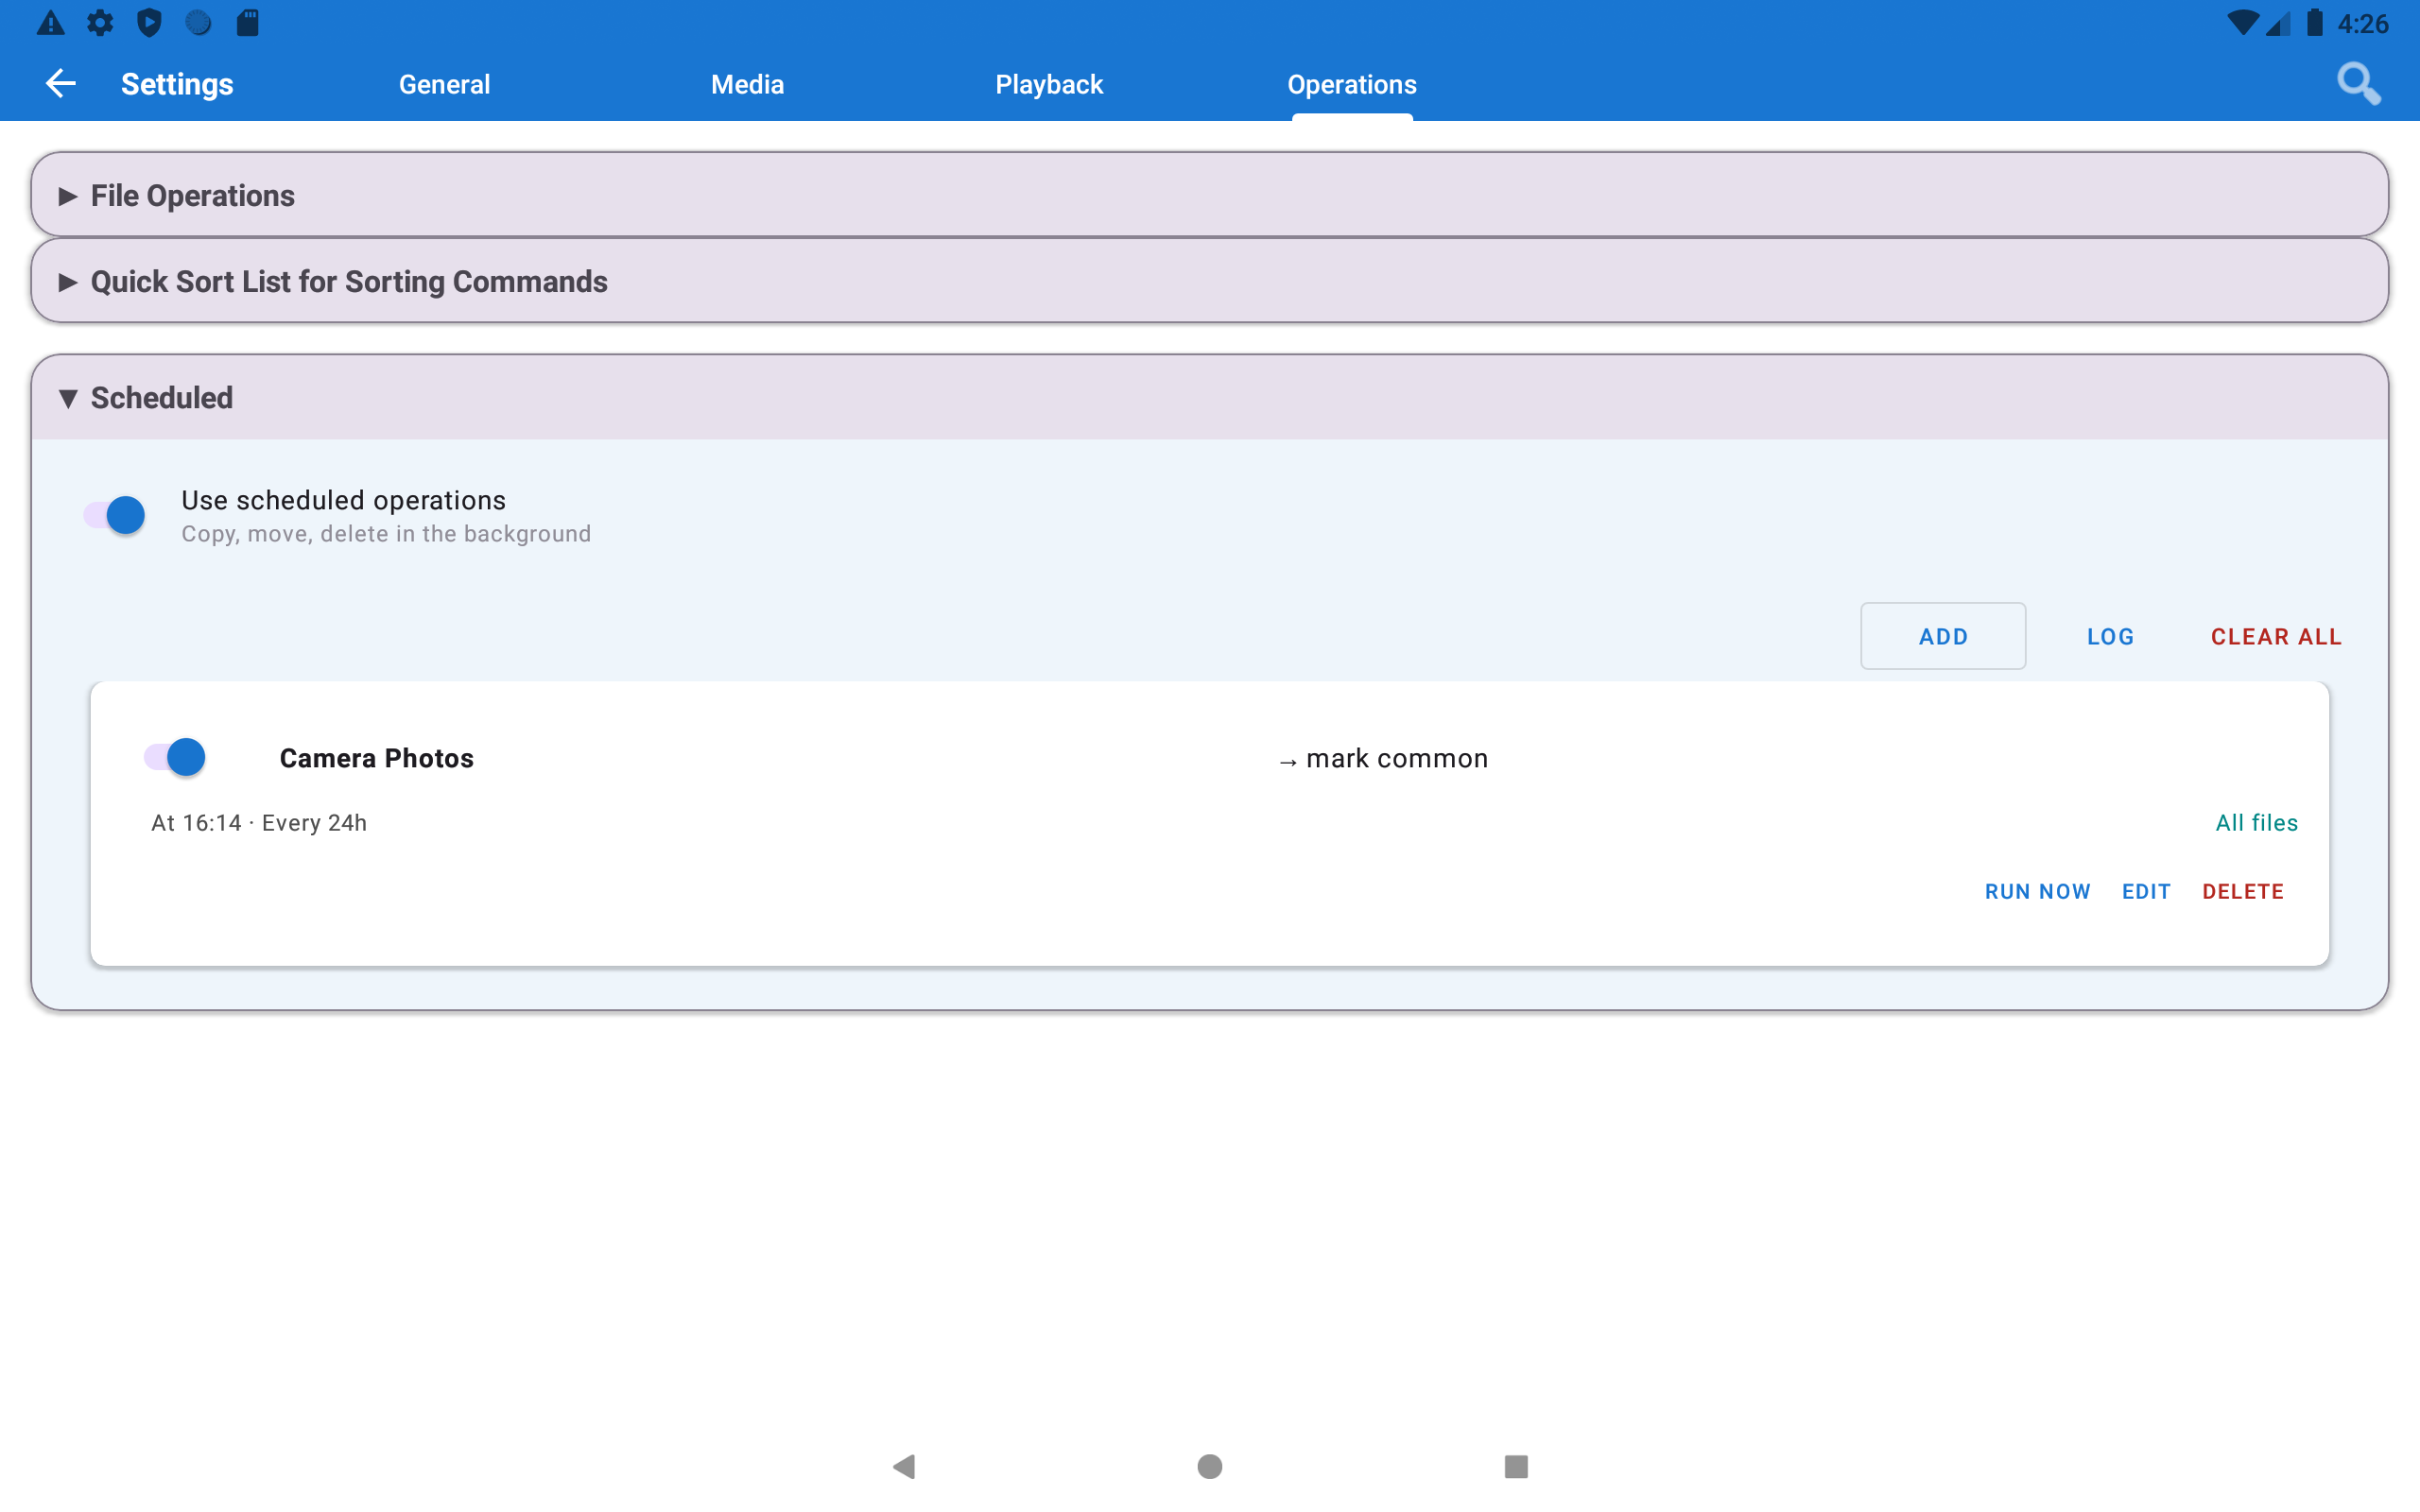
Step 7 - Test It Right Now
Don’t wait until 2 AM - test the backup immediately to make sure everything works:
- Go to Settings → Management → Manage scheduled operations
- Find your schedule → tap “Run now”
- A notification appears at the top of your screen showing transfer progress
- When it finishes: tap on the SMB resource (
PhoneBackup) → your camera photos should be visible there
Nothing was copied? If all your photos are already in the backup folder (or the phone camera folder is empty), the app correctly copies zero files. Try taking a new test photo and run again.
Done! Here Is What Happens Every Night
- At 02:00 the app silently wakes up
- It looks at your camera folder and compares it with the PC backup folder
- Copies only the photos that aren’t on the PC yet - takes from a few seconds to a few minutes
- Shows a notification: “Backed up 12 files” (or however many are new)
- Goes back to sleep
Your PC receives new photos every morning. You never have to think about it.
Tips
Want to free up phone storage after backup? Change the Operation to “Move” instead of “Copy”. Photos get deleted from the phone right after they’re safely copied to the PC. Use this carefully - once moved, the photos are no longer on the phone.
Have multiple phones in the family? Create one schedule per phone. Use different subfolders as destinations - for example
PhoneBackup\MomandPhoneBackup\Dad- so all devices back up to the same PC without mixing files.
Rather back up to Google Drive? Add a Google Drive resource as the destination instead of SMB - the rest of the steps are identical.
Troubleshooting
| Problem | What to try |
|---|---|
| Schedule doesn’t run at night | Go to Android Settings → Apps → FastMediaSorter → Battery → set to Unrestricted |
| “Destination not reachable” error | Your phone must be on Wi-Fi at backup time. If Wi-Fi was off at 2 AM, the backup is skipped and retried the next night automatically |
| Some photos were not backed up | Use “Camera Photos” virtual resource as the source - it catches photos from all camera folders on your phone |
| Duplicate files appearing on PC | Make sure the Operation is set to “Copy (skip existing)”, not “Copy (overwrite)” |